A Breakdown of Mounting Options
You’ve gone through the process of selecting the perfect color, font, material, size, and shape of your sign with the help of our Customer Success Team. Customization is usually the fun part, but when it comes to selecting the right mounting options, you’re about tapped out. Fortunately for you, our team is familiar with just the right mounting to accommodate the size and weight of your sign. There’s little work to do on your end.
Depending on the sign you purchase, the recommended mounting options are already narrowed down in a drop-down selection for your convenience. You’re then able to select the appropriate option considering the surface it will be mounted to (wall, glass, brick, etc.). Below is a quick breakdown of some of our mounting options!
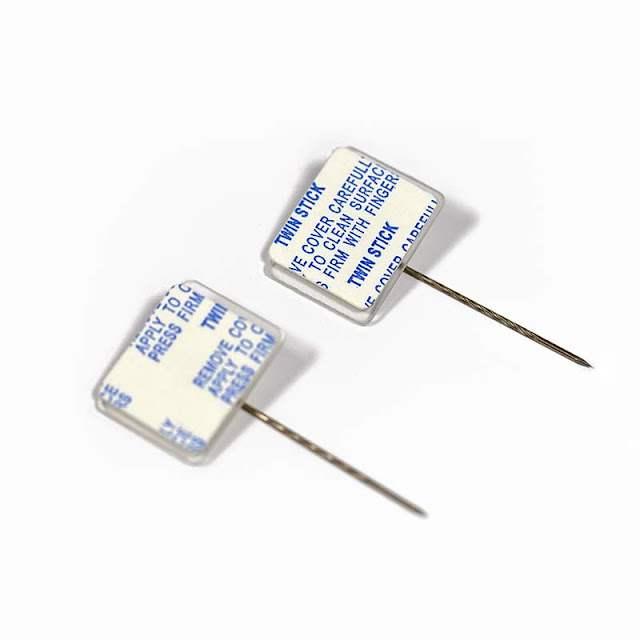
Partition Pins
Theses popular partition pins are adhesive-backed to secure to your cubicle sign. You’re then able to pin your nameplate into the fabric of your cubicle wall.
 |
| Find them here! |
Cubicle Fangs
Another cubicle sign mounting option is cubicle fangs. These are also meant for the fabric outside cubicle walls. These fangs come assembled and adhered to the sign. To mount, simply push the sign into the wall, press up and then down to secure it!
Screw Mount
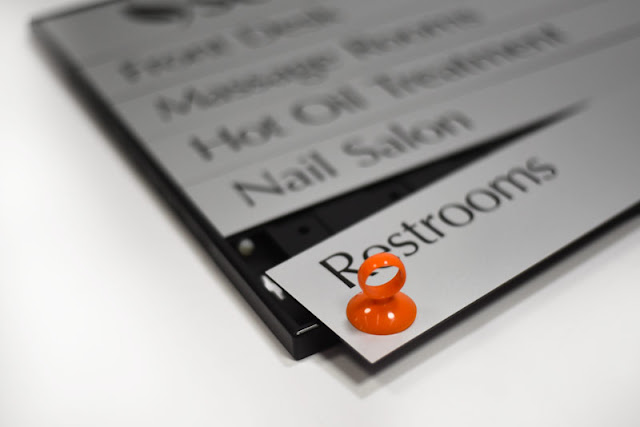
When you purchase a sign with screw mounting, such as a slider sign, it will come slightly dissembled. To mount, secure it to the wall by screwing through the holes on the back of the sign. Once it’s mounted, you can easily slide the sign in. Screws are not provided unless otherwise requested.
 |
| Find Screw Mounts here! |
3M Command Strips
The 3M Command Strips are meant for less permanent signs as they are easy to remove. Simply remove the adhesive backing and apply to your desired spot!
Stand Offs
These sleek mounting options are a crowd favorite. They do require a little more work, however. Available in brushed satin silver, polished chrome and black, you’ll need a stud, a few screws, and a level. Refer to the video above to see how to mount!
 |
| Find them here! |
Magnetic Foam Tape
The mounting process for magnetic foam tape is as easy as “1, 2, 3.” Locate the preferred spot for your sign, remove the foil strip and adhere the mounting to the wall, then attach the magnet adhered to the sign. This mounting option is great for interchangeability!
Cables and Forks
Ceiling signs require a different kind of mounting, and the best that we’ve found are cables and forks. Slide the substrate into the fork (you may need a spacer) and screw it in with the provided Allen wrench until it’s secure. From there, you can hang the cables in one of two ways:
- Magnetic ceiling grid hooks – these attach directly to the metal dividers in your tile ceiling and hold up to 4 pounds
- Non-magnetic ceiling grid hooks – these come with a right and left hook which you arrange around the tile frame, and hold up to 15 pounds of weight
 |
| Hanging Ceiling Signs can be found here! |
Clear Tape
Clear tape, foam tape and Velcro are among the three most common mounting options. Clear tape is strong adhesive used for mounting signs on glass.
Foam Tape
Foam tape is the “go-to” mounting option for walls and doors. Simply remove the protective layer when applying.
Velcro
Velcro mounting, like most, comes with both pieces applied and is considered a “less aggressive” mounting option. If you chose to remove your sign at any point, we recommend a chemical adhesive remover (such as Goo-Gone) to remove leftover residue.
When it comes to larger or exterior signage, we’re happy to survey the area in order to understand the type of mounting your sign will need. If you’re anything like the writer of this blog and you can’t hang a sign up straight for the life of you, you can find comfort in knowing that our Install Team is happy to help. Fret not; I am not a part of our Install Team. I just document their work. Behold:
With any questions or concerns on your recent signage purchase, give us a call at 701-526-3835, or e-mail us at service@officesigncompany.com. Cheers!
Written by: Rylee Wznick
Contact: rylee@officesigncompany.com


